Motorcycle Oil Change: Simple Steps to Maintain Your Engine

How to Perform a Motorcycle Oil Change
Step-by-Step Guide to Maintain Your Engine
Maintaining your motorcycle involves several key tasks, and one of the most essential is the engine oil change. It helps ensure your engine's longevity, prevents premature wear of internal parts, and preserves your bike’s overall performance. In this guide, learn how to perform a motorcycle oil change simply, efficiently… and cleanly!
Why Perform an Oil Change?
Engine oil lubricates your engine’s internal components. Over time, it degrades due to heat, metallic particles, and combustion residues. Regular oil changes maintain high performance and prevent harmful sludge buildup inside the engine.
It's also the perfect opportunity to detect signs of wear, such as leaks or unusual oil color.
How Often Should You Change Motorcycle Oil?
The frequency depends on your bike's model, engine type, and usage (city, road, off-road). As a general rule, change the oil every 3,000 to 6,000 miles (5,000 to 10,000 km). Always check your owner’s manual for specific recommendations.
Tools You’ll Need for a Successful Oil Change
Here’s what you’ll need:
- Engine oil suited for your motorcycle (check viscosity and type)
- Oil filter (if you're replacing it)
- Oil filter wrench to remove the old filter
- Adjustable wrench or socket set for the drain plug
- Oil catch container (minimum 3L capacity)
- Funnel for clean pouring
- Protective gloves
- Cleaning rags
- Environmental mat to protect your floor and avoid spills
Step 1: Prepare the Motorcycle
- Place the bike on a level and stable surface using a center stand or paddock stand if possible.
- Start the engine for a few minutes to warm up the oil, making it more fluid. Let it cool down slightly before proceeding.
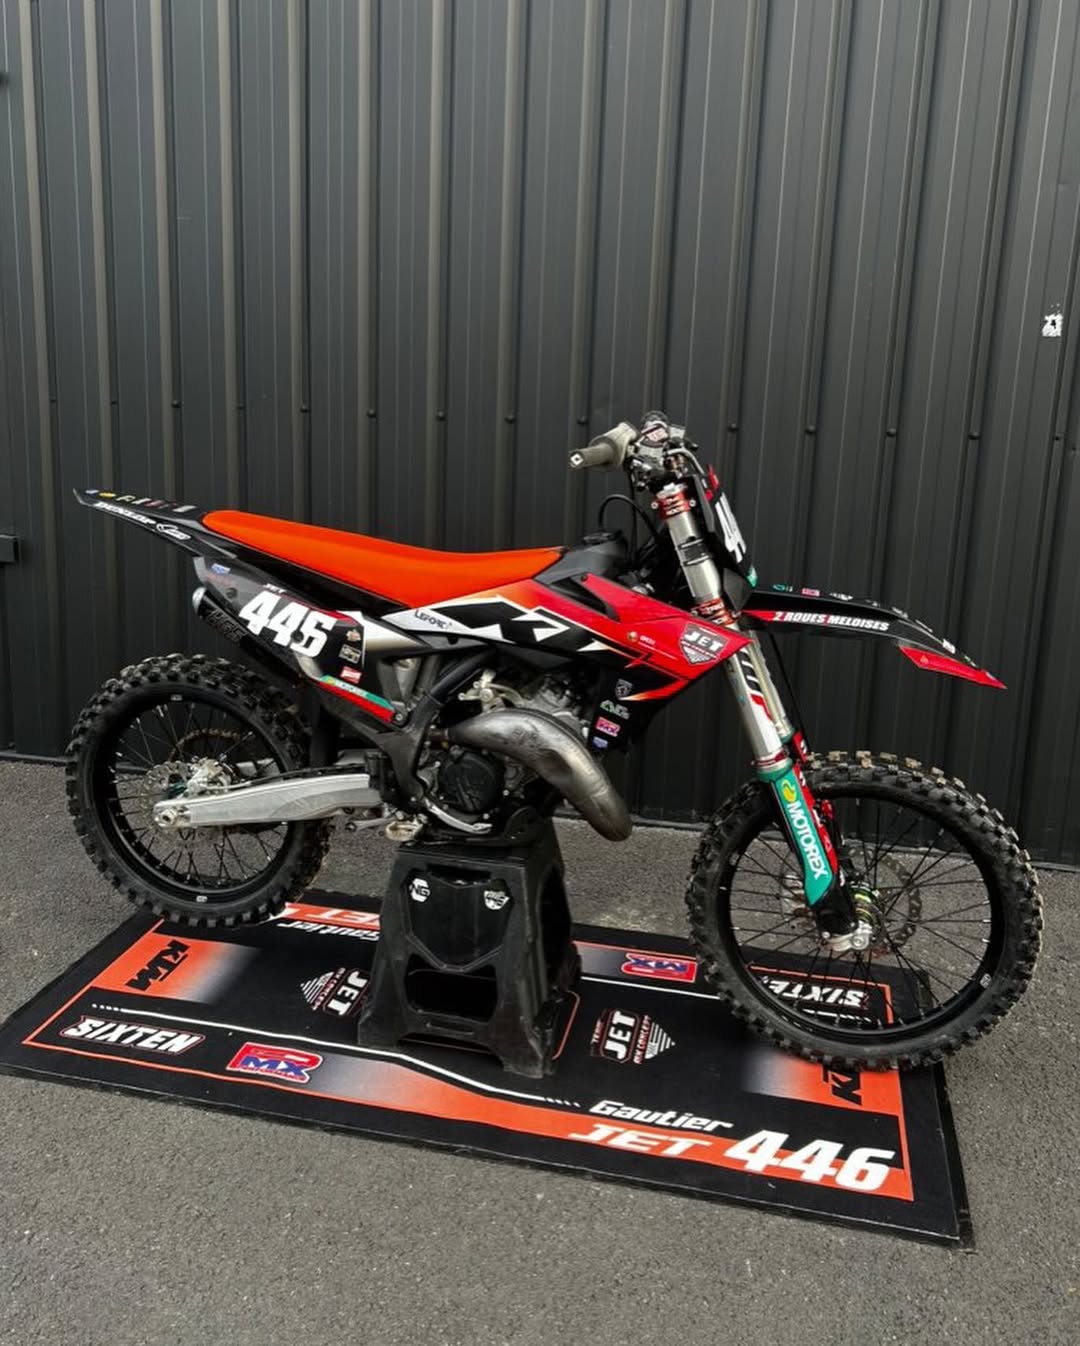
Step 2: Place an Environmental Mat
- Lay an environmental mat under your motorcycle. This absorbent and anti-slip mat protects your floor, catches potential oil splashes, and helps you stay eco-friendly. It’s an essential tool, especially for DIY maintenance at home or on the go.
Step 3: Drain the Old Oil
- Unscrew the drain plug with a suitable wrench. Position the oil catch container under the drain.
- Let the oil drain for 10–15 minutes until it stops dripping. Remove the oil filter if needed.
Step 4: Replace the Oil Filter
- Use an oil filter wrench to remove the old filter. Check the sealing ring to avoid leaks.
- Apply a bit of new oil on the gasket of the new filter and screw it in place by hand—do not overtighten.
Step 5: Add New Oil
- Use a funnel to pour the new oil, respecting the quantity recommended in your manual.
- Close the drain plug securely and double-check for tightness.
Step 6: Check Oil Level and for Leaks
- Start the engine and let it run for 1–2 minutes to circulate the oil.
- Turn off the engine, wait a few minutes, then check the oil level using the dipstick. Top up if needed.
- Inspect around the filter and plug area for any signs of leaks.
Step 7: Clean Up and Recycle
- Wipe off any oil residue with a rag.
- Fold up your environmental mat if reusable, or dispose of it properly if it’s single-use.
- Take the used oil and filter to a recycling center or authorized garage.
Conclusion
Changing your motorcycle oil is a simple task if you're well-prepared. By adding a Sixten environmental mat to your gear, you ensure cleaner maintenance and help protect the environment. Our mats are customizable, durable, and comply with FIM regulations.
✔️ Explore our full range of environmental mats for motorcycles and gear up like a pro today!


